Wondering how do you test yarn colorfastness? You can easily do it at home with just a few simple steps. First, gather your materials. Next, make a small yarn sample and get it ready. Then, test the yarn and check what happens. Testing helps you avoid problems like color transfer, faded spots, or a muddy look in your finished project. You might even have to fix or throw away your work if colors bleed. This process is quick and easy, so you can start every project with confidence.
Key Takeaways
Testing yarn colorfastness at home is simple. You only need a few things you already have. Use a white rag to check for color transfer. This helps you see even small dye leaks. Prewashing yarn can wash out extra dye. This stops color from bleeding in your projects. The soak test and rubbing test both work well. They show if your yarn will bleed or stain. If your yarn does not pass the test, try vinegar or fixatives. These can help set the dye. Always write down your test results. This helps you remember which yarns are colorfast later. Pick yarns that say colorfast or washable. This helps you avoid problems in your finished work. Store and handle yarn the right way. This keeps its color and quality for a long time.
Materials for Testing Yarn
Before you start testing, you need to gather a few simple items. Most of these supplies are things you already have at home. Having everything ready will make the process smooth and quick.
Essential Supplies
Here’s what you’ll need for basic yarn colorfastness testing:
Small bowl or basin
Use this to soak your yarn sample. A clean bowl helps you see if any color leaks into the water.White rag or cloth
This is important for spotting color transfer. A white rag shows even the smallest hint of dye that might come off the yarn.Clean towel
Lay your yarn sample on a towel to dry. You can also use it to blot the yarn and check for color stains.Mild soap or detergent
Add a drop of gentle soap to the water. This helps mimic real washing conditions and shows if the yarn will bleed during a wash.Water
You need enough water to soak your yarn sample. Room temperature water works best for most tests.
Tip: Always use a white towel or rag. Colored fabrics can hide dye transfer and make it hard to see results.
Optional Tools
You might want to use a few extra items to make testing easier or more accurate:
Gloves
Protect your hands from dye stains, especially if you’re testing several types of yarn.Measuring cup
This helps you use the same amount of water each time, which makes your tests more reliable.Plastic bag or wrap
Use this to cover your sample if you want to leave it soaking overnight.Notebook or phone
Take notes or photos of your results. This is helpful if you test many yarns or want to remember which ones bleed.
Different yarn fibers can behave in unique ways during colorfastness testing. Acrylic yarns usually resist bleeding because of how they’re colored. Cotton yarns, on the other hand, often bleed and may need special fixatives. Wool yarns can also bleed, but this depends on how they were dyed. Knowing what type of yarn you have helps you understand what to expect during testing.
If you’re not sure what your yarn is made of, check the label or ask at the store. This can save you time and help you avoid surprises.
With these supplies, you’re ready to move on to preparing your yarn sample. Testing is simple when you have the right tools on hand.
Preparing Yarn for Testing
Making a Yarn Sample
Before you start testing, you need to make a yarn sample. This step helps you see how your yarn will react without risking your whole skein. Here’s a simple way to prepare your sample:
Cut a Sample
Snip off a piece of yarn about 4 inches (100mm) long. If you want to be extra careful, make your sample a bit wider—about 1.5 inches (40mm). This size gives you enough yarn to see any color changes.Sandwich the Yarn
Place your yarn between two pieces of white fabric. If you have different fibers in your yarn, use the fabric that matches the main fiber for one side and a different fiber for the other. This trick helps you spot color transfer on different materials.Prepare Your Test Solution
Mix a small amount of mild soap with water. For a more accurate test, use about 1 teaspoon of gentle soap in 4 cups of water. If you want to follow a more detailed method, add a pinch of baking soda to the mix.Soak and Agitate
Put your yarn sample and the white fabric into the bowl. Swirl them around gently. Let them soak for about 30 minutes. This step mimics what happens during a real wash.Rinse and Dry
Rinse your sample with clean water. Lay it flat on a towel and pat it dry. Let it air dry completely before checking for any color changes.
Tip: Always use white fabric for your sandwich. It makes it much easier to spot even the tiniest bit of dye that might bleed out.
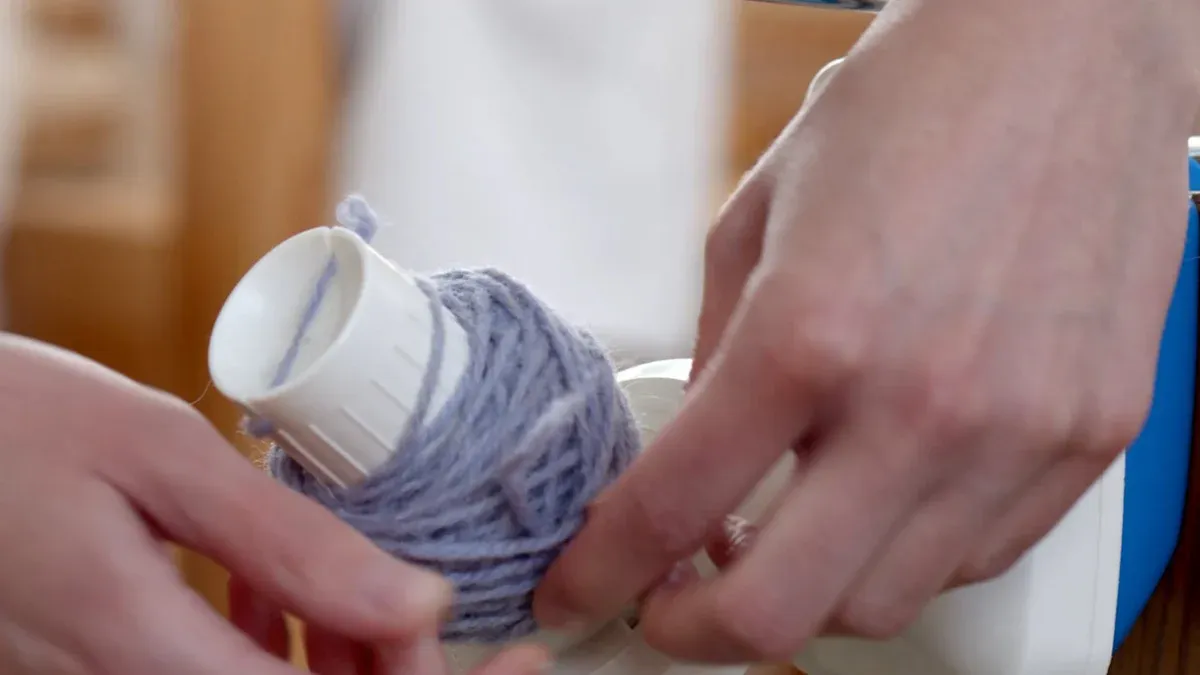
Prewashing Tips
Prewashing your yarn can save you from surprises later. When you prewash, you remove extra dyes and chemicals that might cause bleeding. Here’s why prewashing matters:
Prewashing gets rid of loose dye, so your finished project won’t bleed when you wash it.
You can spot problems early. If you see color in the water or on a color catcher, you know the yarn isn’t colorfast.
Prewashing acts like a mini colorfastness test. If your yarn holds its color, you can feel confident about using it.
If you want to check for dye release, toss a color catcher sheet in with your yarn. The sheet will pick up any loose dye and show you if your yarn is safe to use.
You don’t need fancy tools to prewash. Just use a bowl, some mild soap, and a towel. Let your yarn dry flat after washing. If you see any color on your towel or in the water, you might need to treat your yarn before starting your project.
Taking a few minutes to prepare and prewash your yarn can make a big difference. You’ll avoid color disasters and enjoy a project that looks great for years.
How Do You Test Yarn Colorfastness?
You might wonder, how do you test yarn colorfastness? You can use two main methods at home: the soak test and the rubbing test. Both help you spot if your yarn will bleed or stain other materials. Let’s break down each method so you can feel confident before starting your next project.
Soak Test Steps
The soak test is the most common way to check for color fastness. You use water, a white rag, and a towel to see if any dye comes out of the yarn. This method is simple and gives you clear results.
Soaking with a White Rag
Prepare Your Sample
Cut a small piece of yarn, about 4 inches long. Tie off the ends if you want to keep the strands neat. Place the yarn in a clean bowl.Add Cool Water
Pour enough cool or lukewarm water into the bowl to cover the yarn. Cool water works best for this test.Hot water is the enemy of dye. When you wash yarn, always use cool or lukewarm water. Cold water helps keep the dye molecules attached to the fibers.
Add a White Rag
Place a white rag or cloth in the bowl with the yarn. Make sure the rag touches the yarn. This helps you see if any color transfers.Soak and Wait
Let the yarn and rag soak for about 20–30 minutes. Swirl them gently every few minutes.Take a small swatch of the yarn (or even just a few strands) and soak it in a bowl of cool water for about 30 minutes. Check the water – if it’s colored, the yarn will likely bleed.
Check the Water and Rag
After soaking, look at the water. If you see any color, your yarn is not colorfast. Lift the rag and check for stains. Even a faint tint means the dye is coming out.
Many crafters use this method: soak the yarn, roll it in a towel to remove moisture, and check for color transfer after drying.
You can also tie off sections of yarn, soak them for about 20 minutes, and check for bleeding after drying.
Using a Towel to Check Color
Remove and Blot
Take the yarn and rag out of the bowl. Lay them on a clean, white towel.Roll and Press
Roll the towel around the yarn and press gently. This step helps you see if any dye comes off when the yarn is wet.Inspect the Towel
Unroll the towel and look for any color marks. If you see stains, your yarn may bleed during washing or use.
If you want to be extra sure, let the yarn dry on the towel. Sometimes, color transfer shows up more as the yarn dries.
Rubbing Test Steps
The rubbing test is another way to answer, how do you test yarn colorfastness? This test checks if the color rubs off when the yarn is dry or wet. It’s quick and helps you spot problems before you start your project.
The rubbing test checks how well the color stays on the yarn when you rub it against a white cloth.
You can do this test with both dry and wet yarn.
The soak test looks for color that moves into water, but the rubbing test looks for color that comes off with friction.
Here’s how to do the rubbing test:
Prepare the Yarn
Cut a small piece of yarn. Lay it flat on a white cloth.Rub the Yarn
Take another piece of white cloth and rub it firmly over the yarn. Do this for about 10–15 seconds.Check for Stains
Look at the cloth you used for rubbing. If you see any color, the yarn is not colorfast.Try Wet Rubbing
Wet the yarn with a little water and repeat the rubbing. This step shows if the color will come off when the yarn is damp.
The rubbing test is a common way to check if colors will stain other materials. You can do it before you knit, crochet, or weave.
The soak test and rubbing test work together. The soak test checks for color in water, while the rubbing test checks for color that comes off with touch.
Professional textile conservators use similar steps. They test each colored part of a textile, use purified water, and check for color transfer with blotting paper.
Step | Description |
|---|---|
1 | Vacuum the textile to remove loose dirt or fibers. |
2 | |
3 | Use a small drop of water at the wash temperature. |
4 | Cover with blotting paper and Mylar. |
5 | Check for color change or transfer. |
When you ask, how do you test yarn colorfastness, you now have two reliable answers: the soak test and the rubbing test. Using this colorfastness test at home helps you avoid surprises and keeps your projects looking bright and beautiful. Always check for color fastness before you start, and you’ll enjoy your yarn crafts even more.
Testing Yarn: Interpreting Results
Signs of Color Bleeding
You’ve finished your soak and rubbing tests. Now, it’s time to look closely at your results. When you test yarn for color fastness, you want to spot any signs of color bleeding right away. Here’s what you should check:
Look at the water after soaking your yarn. If you see any tint or color swirling in the bowl, that’s a clear sign the yarn is bleeding.
Inspect the white rag or towel you used. Search for watermarks, rings, or outlines of color. Even a faint stain means the dye is coming off.
Check the yarn itself. Sometimes, yarn that bleeds will look patchy or faded after soaking.
Feel the yarn. If the texture seems rough or different, the dye might have affected the fibers.
Yarns with intense, saturated colors that seem to sit on the surface often bleed more than paler shades.
If you notice any of these signs, your yarn did not pass the testing color fastness process. You should not ignore even small hints of dye transfer. They can lead to bigger problems in your finished project.
Tip: Always use a white absorbent cloth for your tests. It makes it much easier to spot color transfer.
What If Yarn Is Not Colorfast?
So, what happens if your yarn fails the test yarn for color fastness? Don’t worry. You have options to fix or work around the problem.
Decide What to Do Next
If you see color bleeding, you can try to set the dye. Soak the yarn in a solution of vinegar or salt and water. This sometimes helps lock in the color.
You can also look for commercial dye fixatives at craft stores. These products are made for improving color fastness.
Change Your Project Plans
Use the yarn for projects that won’t be washed often, like wall hangings or decorative items.
Pair the yarn with similar colors so bleeding won’t ruin the look.
Keep a notebook or use your phone to record what happened during your testing color fastness steps. Write down which yarns bled and which ones stayed true. This log helps you remember which brands or colors to trust in the future.
Test Again If Needed
Sometimes, a second round of testing color fastness helps. If you treat the yarn and want to check if it worked, repeat the soak and rubbing tests.
Note: Documenting your results is a smart habit. It helps you keep track of which yarns are safe and which ones need extra care. You’ll build your own quality control log for future projects.
When you test yarn for color fastness, you protect your work from surprises. You’ll know exactly what to expect, and you can enjoy your crafting with confidence.
Testing Color Fastness: Solutions and Prevention
Fixing Non-Colorfast Yarn
Sometimes, your yarn fails the colorfastness test. Don’t panic. You can try a few things at home to fix it.
Vinegar or Salt Soaks
Try soaking your yarn in a mix of vinegar and water. Use one part vinegar and four parts cool water. Let the yarn sit in the mix for about 20 to 30 minutes. This can help the dye stay on the yarn better. Vinegar helps the color stick, so your yarn looks brighter.
Here’s a simple chart to show how vinegar and salt work:
Treatment Type | Effect on Colorfastness | Notes |
|---|---|---|
Vinegar | Enhanced | Helps color stick, makes yarn darker and richer. |
Salt | Diminished | Makes dye less strong, colors look lighter. |
You can also try citric acid. Use one teaspoon in water and soak the yarn for 10 minutes. Some people use Borax or Cheer detergent to help keep colors bright. A color catcher sheet in the wash can grab loose dye and stop it from spreading.
Tip: Always test a small piece of yarn first. This way, you won’t ruin your whole skein if something goes wrong.
Commercial Fixatives
If home tricks don’t work, try a store-bought fixative. These products help keep color from bleeding. Here’s a chart to compare two popular fixatives:
Product Name | Type of Fixative | Effectiveness in Preventing Color Bleeding | Application Method |
|---|---|---|---|
Cationic | High | Use with hot water in a tub or machine, just once. | |
Rit® ColorStay Dye Fixative | Similar | High | Use before first wash, with hot water. |
Always read the label and follow directions. If you care about nature, pick eco-friendly fixatives. Some old fixatives have heavy metals that can hurt the earth. Plant-based or mineral fixatives are safer and use less water.
Preventing Color Bleeding
You can stop color bleeding by being careful when you wash and plan your projects.
Washing and Care Tips
Wash your yarn projects in cool or lukewarm water. Hot water can make dye come out.
Use gentle, pH-neutral soap made for wool or delicate things. Don’t use bleach or brighteners.
Put color catchers in the wash. They grab loose dye and show if your yarn is safe.
Dry your projects flat on a towel, away from the sun. Don’t use a dryer, which can make dye come out and hurt the yarn.
Measure | Description |
|---|---|
Use cool or lukewarm water | Cool water keeps dye on the yarn. |
Gentle, pH-neutral detergent | Don’t use strong cleaners that take away color. |
Air Drying | Lay flat on a towel so colors don’t fade and yarn dries evenly. |
Color Catchers | Grab loose dye and stop it from moving to other yarn. |
Tip: Washing many times, especially with hot water or strong soap, can make colors fade. Be gentle so your projects stay bright.
Project Planning Advice
Think about colorfastness before you start a project. Test all new yarns first. Pick yarns with similar colors if you worry about bleeding. Write down your results and tips in a notebook. This will help you save time and keep your projects looking great.
Extra Tips for Testing Yarn
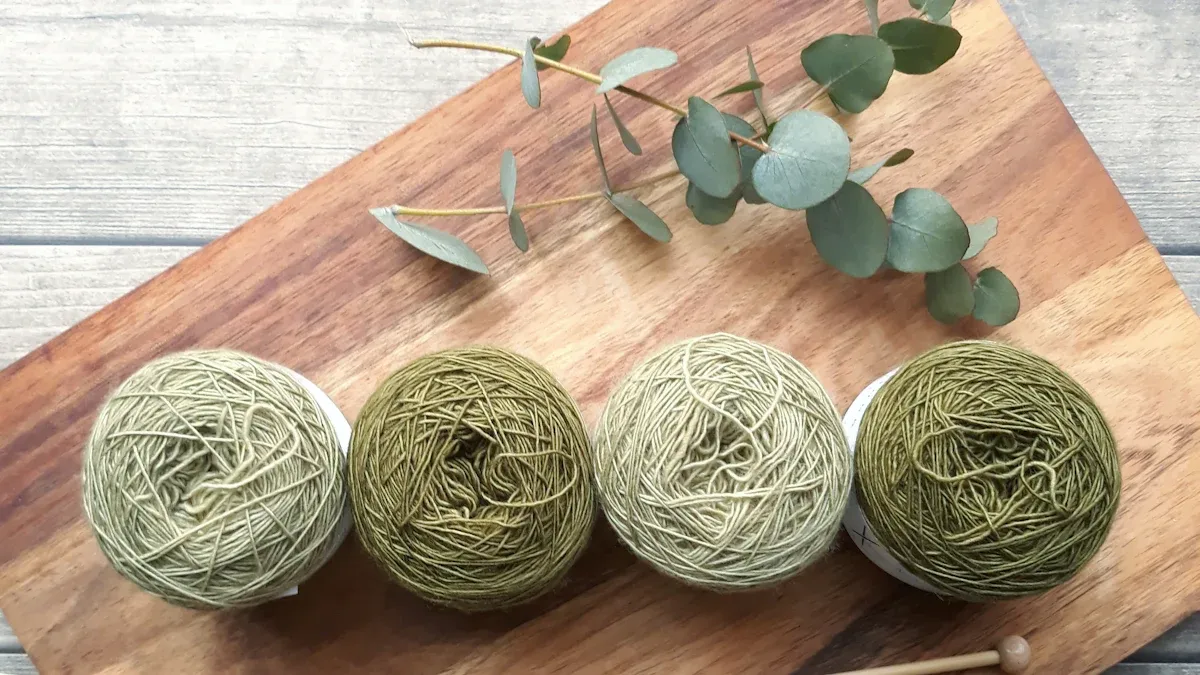
Choosing Colorfast Yarn
You want your projects to look bright and last a long time. Picking colorfast yarn makes a big difference. Here are some easy ways to choose yarn that holds its color:
Check the label. Yarn brands often mention if their yarn is colorfast. Look for words like “washable,” “colorfast,” or “fade-resistant.”
Ask at the store. Staff can help you find yarns that don’t bleed. They know which brands and colors work best for different projects.
Stick with trusted brands. Well-known companies usually test their yarns for colorfastness. You get better results and fewer surprises.
Choose lighter colors. Dark or very bright yarns tend to bleed more. Pastel shades and neutrals often stay true after washing.
Test before you buy a lot. Buy a small skein first. Do a quick soak or rubbing test at home. If the yarn passes, you can buy more for your project.
Tip: Yarn made from synthetic fibers like acrylic usually holds color better than cotton or wool. If you want bold colors, acrylic is a safe bet.
You can also look for yarns labeled for baby projects. These yarns often go through extra testing to make sure they don’t bleed or fade. If you plan to mix colors in one project, test each color separately. This helps you avoid surprises when you wash your finished work.
Storing and Handling Yarn
You might not think about storage, but it matters for keeping yarn colors bright. Good storage and handling keep your yarn in top shape. Here are some simple tips:
Keep yarn in a cool, dry place. Heat and moisture can make colors fade. Find a spot away from windows and heaters.
Use airtight containers or zip bags. These keep out dust and humidity. Your yarn stays clean and fresh.
Don’t cram yarn together. Give each skein some space. Squished yarn can lose its shape and color.
Check your yarn often. Look for fading, dust, or bugs. If you spot problems, fix them right away.
Here’s a quick table to show how storage affects yarn colorfastness:
Storage Tip | Why It Matters |
|---|---|
Yarn fibers stay strong and colors don’t fade. | |
Check your yarn regularly | You catch problems early and keep colors bright. |
Use storage that fits your space | Custom solutions protect yarn from fading and damage. |
Note: Yarn storage is not the same for everyone. You might need shelves, bins, or bags depending on your space. Try different methods until you find what works best.
If you handle yarn gently, you avoid stretching or pulling out fibers. Wash your hands before touching yarn. Oils and dirt can dull colors over time. When you finish a project, store leftovers in labeled bags. Write down the color and brand so you remember what works for future projects.
You can keep your yarn looking new with just a little care. Smart choices and good habits help your projects stay colorful and beautiful for years.
Always test your yarn for colorfastness before you start a project. This simple habit helps you keep your finished pieces looking bright and beautiful for years. Here’s why it matters:
Regular testing keeps your yarn from fading or bleeding, so your projects stay vibrant.
High colorfastness means your work will last longer, even after many washes.
You can use easy home methods, like soaking yarn in lukewarm water, to check for color changes.
Make colorfastness testing part of your routine. You’ll enjoy creating projects that look great and stand the test of time! 🎨🧶
FAQ
How do you know if yarn will bleed?
You can soak a small yarn sample in cool water with a white rag. If you see color in the water or on the rag, your yarn will bleed.
Can you fix yarn that is not colorfast?
You can try soaking the yarn in vinegar and water or use a commercial fixative. These methods help lock in the color and reduce bleeding.
Should you always test yarn before starting a project?
Yes! Testing yarn saves you from color disasters. You avoid ruined projects and keep your work looking bright and beautiful.
What types of yarn bleed the most?
Cotton and wool yarns often bleed more than acrylic. Dark and bright colors usually bleed more than light or pastel shades.
Is it safe to mix colors in one project?
You can mix colors, but test each yarn first. If one color bleeds, it can ruin the whole project. Always check before you start.
How do you store yarn to keep colors bright?
Store yarn in a cool, dry place. Use airtight containers or bags. Keep yarn away from sunlight and heat to prevent fading.
What soap should you use for testing yarn?
Choose a mild, pH-neutral soap. Wool wash or gentle detergent works best. Strong soaps can strip color from yarn.
Can you use color catchers with yarn?
Yes! Color catchers grab loose dye during washing. They help you spot bleeding and keep your yarn safe.