The knitwear sampling process explained allows you to transform ideas into clothing. You start by exploring new concepts and experimenting with techniques. Each step is crucial, from selecting materials to creating the sample. By understanding the knitwear sampling process, you can appreciate how designers and brands achieve high quality and style. This process also enhances the enjoyment of the craft for knitwear enthusiasts.
Key Takeaways
Begin your knitwear project by looking for ideas in new places. This helps you start your collection the right way.
Make mood boards to show your ideas. They help you pick colors and fabrics. This keeps your design on track.
Knit swatches to make clear patterns. This lets you try out designs and stop mistakes before they happen.
Pick your yarn with care. Different fibers change how your knitwear looks, feels, and lasts.
Always wind and get your yarn ready before you knit. This helps you get better results and stops tangles.
Make a swatch to check your gauge. This makes sure your stitches are even and your piece will fit.
Know how test knitters and sample knitters are different. Each one has a special job in the sampling process.
Check your final sample very carefully. This makes sure it is good and the same before making more.
Knitwear Design Process Overview
Concept and Inspiration
You start by looking for new ideas. These ideas can come from many places. You might get inspired by things, pictures, memories, or thoughts. Designers gather these inspirations to help them create. Sometimes, the best ideas come from places you do not expect.
Things, pictures, memories, and thoughts can give you ideas.
You gather and sort these inspirations for your collection.
Great ideas often come from surprising places.
When you search for inspiration, you set the style for your collection. You explore different ideas to find what feels right. A strong inspiration helps your collection succeed. You use these ideas to guide your knitting pattern and collection.
Sketching and Mood Boards
Once you have ideas, you begin to sketch. Sketching lets you see your collection’s look. You draw shapes and lines that match your ideas. You also make mood boards. Mood boards help you organize and see how ideas fit together.
Aspect | Description |
|---|---|
Visualization | Mood boards show your collection and design ideas clearly. |
Color and Fabric Testing | You can try out colors and fabrics for your collection. |
Communication | Mood boards help you share your ideas with your team. |
Mood boards let you test colors and fabrics before making patterns. You see what works and what does not. This step keeps your collection focused and creative. Mood boards help you make sure your collection has a clear plan before moving on.
Pattern Drafting
Now your collection starts to take shape. You go from sketches to your first pattern draft. This step is important because it makes your ideas real. You follow steps to make a good pattern draft:
Knit a small swatch to test your design.
Write a summary of how to make your collection.
Make a spreadsheet for stitch and row counts.
Write the pattern draft using your notes and spreadsheet.
You do these steps for each piece in your collection. A good pattern draft helps you avoid mistakes later. You need clear patterns so your collection looks and fits right. Careful planning now helps you set prices, avoid problems, and keep your team working together. Good planning gives your collection a better chance to succeed.
Tip: Take extra time on your pattern draft. Careful work now saves time and trouble later in the knitwear sampling process.
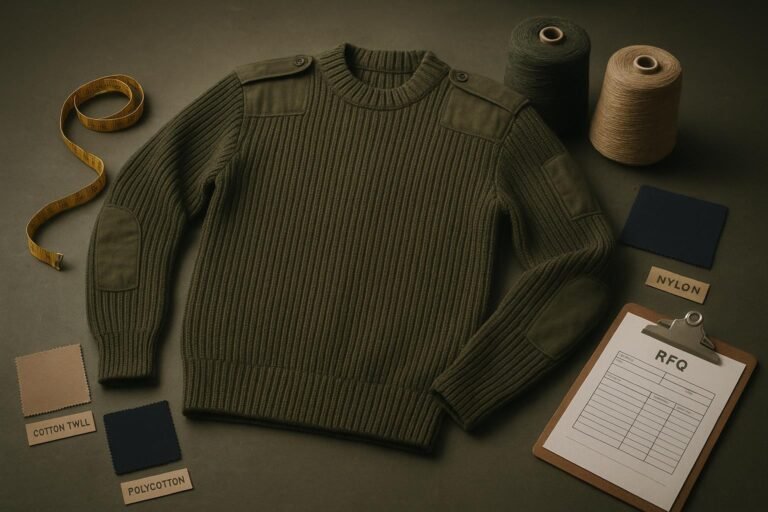
Yarn Selection and Preparation
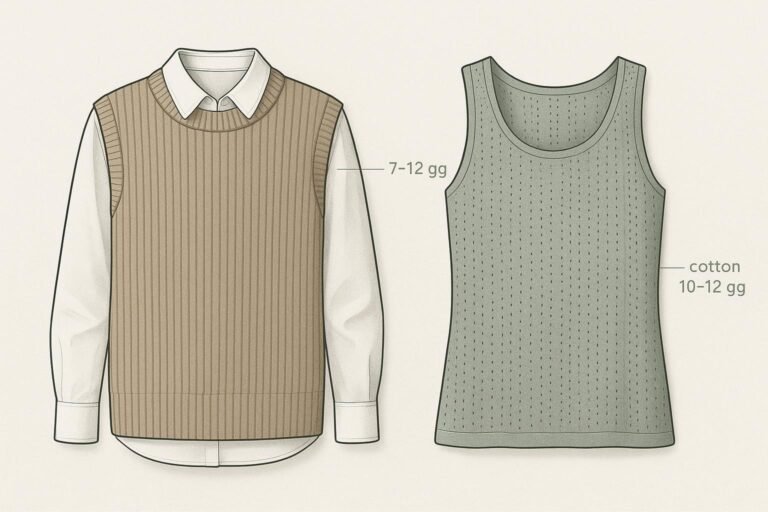
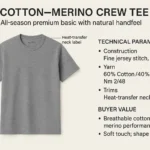
Choosing Yarn Types
You make big choices when picking yarn for your sample. Yarn selection changes how your piece looks and feels. It also affects how long it lasts. You must think about fiber content, weight, and texture. Each yarn type has special qualities.
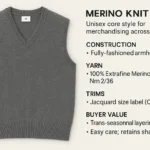
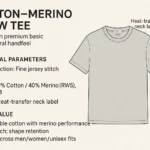
Wool: It gives stretch and keeps you warm. Merino and Bluefaced Leicester are favorites.
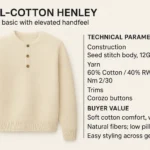
Cotton: It is light and lets air through. It is good for summer but does not stretch much.
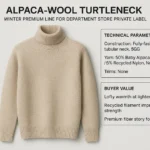
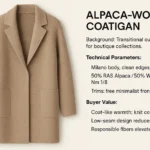
Alpaca: It is soft and warm. Alpaca yarn does not cause allergies and feels nice.
Silk: It hangs nicely and looks fancy. Silk needs gentle care and costs more.
Nylon: It is strong and lasts long. Nylon is often mixed with other fibers.
Yarn weight, fiber content, and texture change how strong and smooth your sample is. Smooth yarns show off stitch patterns well. Fuzzy yarns make clothes soft but can hide details. You should check yarn weight to keep your sample strong and neat.
Yarn Winding and Conditioning
You need to get your yarn ready before knitting. You wind yarn into balls or cakes so it does not tangle. This makes knitting easier. You also condition yarn to make it better. Conditioning adds moisture and makes yarn less fuzzy. This helps you work with it.
Aspect of Yarn Conditioning | Effect on Quality |
|---|---|
Big increase | |
Yarn Hairiness | Goes down a lot |
Yarn Tenacity | Goes up a bit |
Flexibility | Gets better |
Strength | Gets stronger |
You can use a yarn balance to check the weight of each part. You compare skeins for thickness, twist, and color. These steps help you avoid problems and keep your sample looking good.
Tip: Always wind and condition your yarn first. This helps you get better results and makes fewer mistakes.
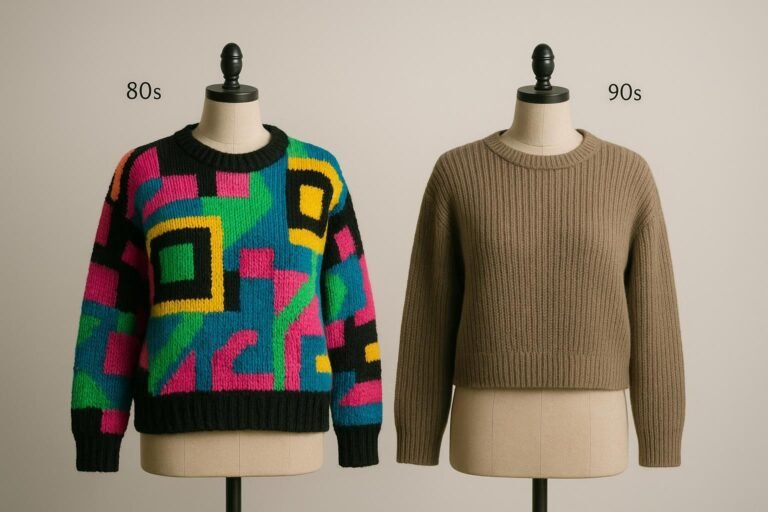
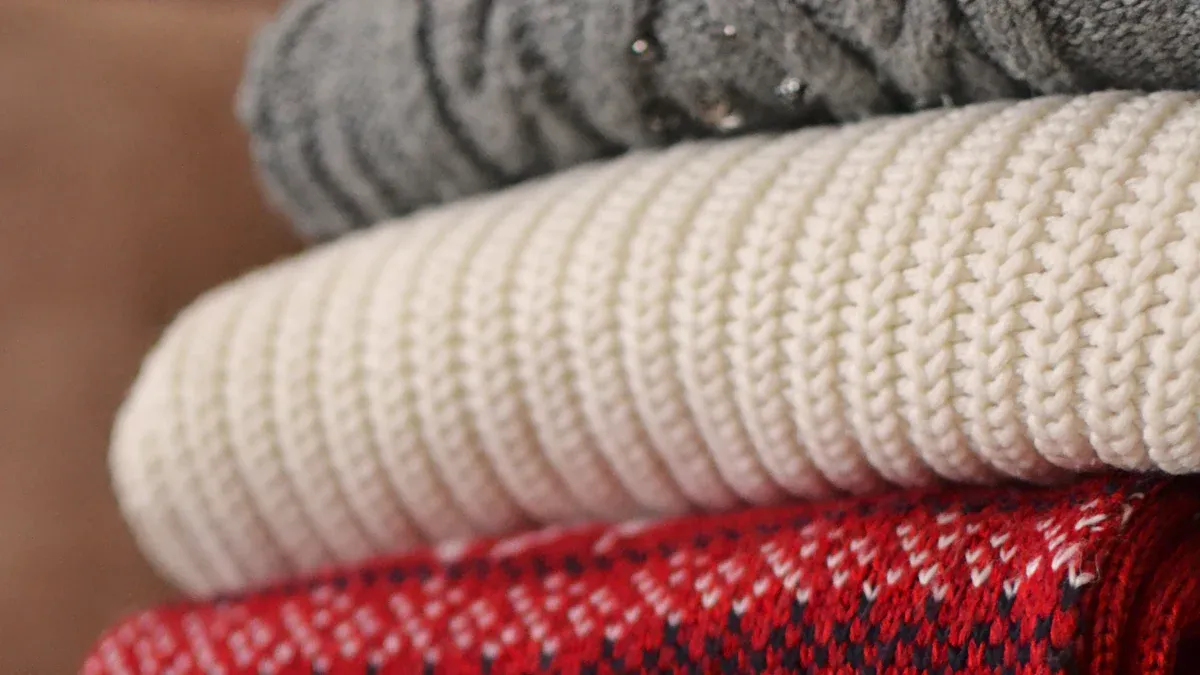
Color and Texture Choices
You make fun choices when picking colors and textures. These choices change how people feel about your knitwear. Soft textures give comfort and help people relax. Bright colors can make you happy and give energy. Patterns and colors can remind people of their culture or help them feel calm.
Yarn texture changes how your sample looks and feels. Smooth yarns show off fancy patterns. Fuzzy yarns make clothes warm and soft. You guide your project by picking the best color and texture for your design.
You set up your knitwear sample for success by picking and preparing your yarn. Good choices help you make pieces that look nice, feel good, and last a long time.
Knitwear Sampling Process Explained
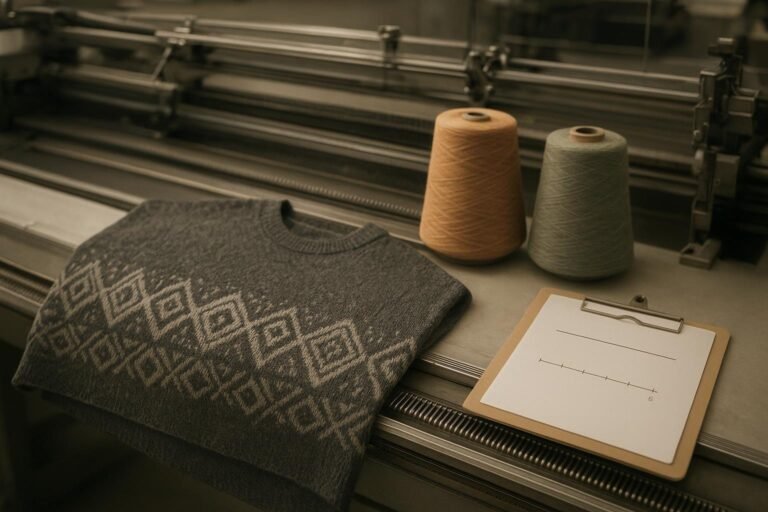
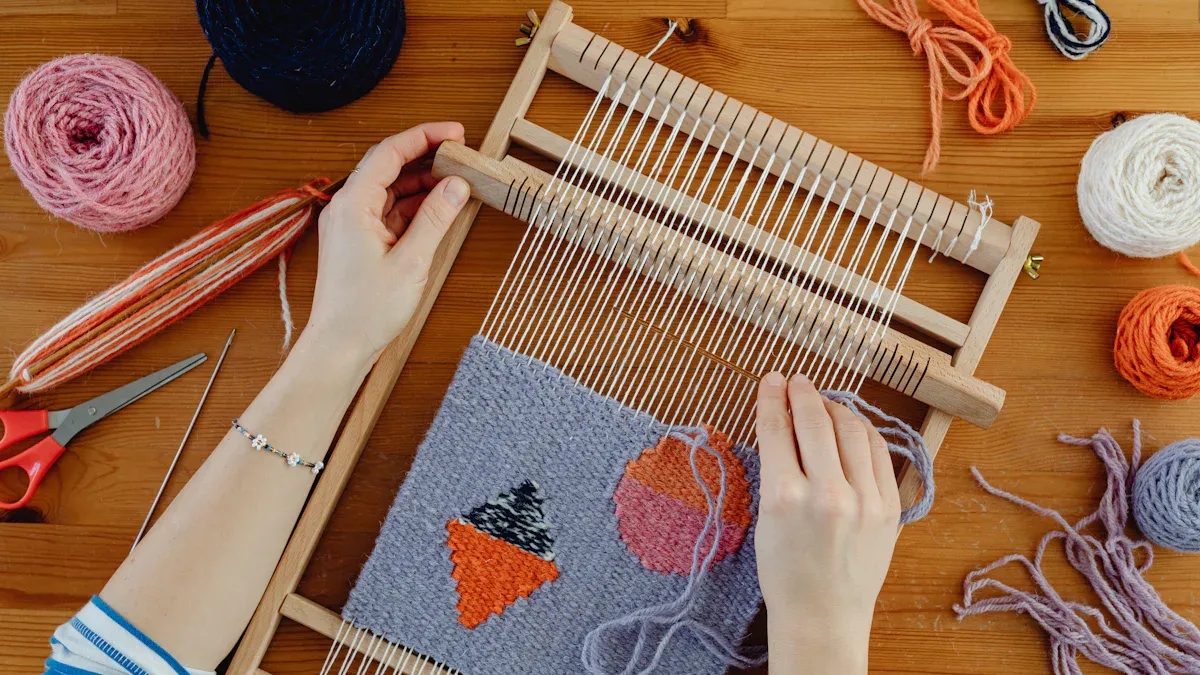
Swatching and Stitch Testing
You begin the knitwear sampling process explained by making a swatch. This small piece of fabric helps you test your knitting pattern and check your gauge. You use a swatch to see how your yarn, needles, and stitches work together. Many designers call this first swatch a “Big Ol’ Swatch” or B.O.S. You use yarn that is similar to your final choice to make sure your sample will match your vision.
You follow these steps to create a swatch and test your stitches:
Cast on enough stitches to make a square, usually at least 4 inches wide.
Knit the sample using your chosen knitting pattern.
Try different needle sizes to see which one gives you the best result.
Measure your gauge by counting how many stitches and rows fit in one inch.
Compare your gauge to the industry standard for your pattern.
Adjust your needle size if your stitches are too loose or too tight.
Repeat the process until you get the correct gauge.
Tip: The needle size does not matter as much as getting the right gauge. Always focus on matching the gauge for your sample.
You use your swatch to spot problems early. If your stitches look uneven or your fabric feels wrong, you can fix it before you knit the sample. Swatching and stitch testing save you time and help you avoid mistakes in your mini-garment.
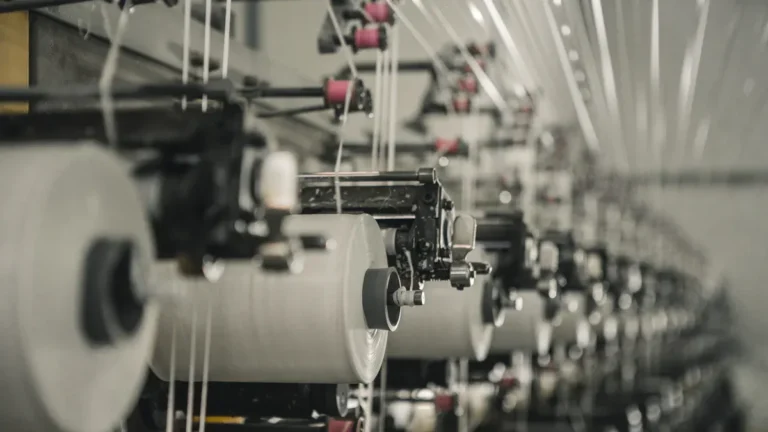
Knitting Methods (Hand vs. Machine)
You can knit the sample by hand or with a machine. Each method has its own strengths and weaknesses. The knitwear sampling process explained includes both options, so you can choose what works best for your project.
Hand Knitting: You control every stitch. This method lets you create detailed patterns and unique textures. Hand knitting takes more time and effort. You may see small differences in your samples because each piece is made by hand.
Machine Knitting: You use a knitting machine to make your mini-garment. Machines work fast and produce samples with high precision. You get consistent results, which is important for large orders. Machine knitting needs special equipment and training.
You should think about your goals before you pick a method. If you want to test a complex knitting pattern, hand knitting gives you more control. If you need many samples or want to check for consistency, machine knitting is a better choice. The process you choose affects how your sample looks and feels.
Method | Speed | Control | Consistency | Investment |
|---|---|---|---|---|
Hand Knitting | Slow | High | Variable | Low |
Machine Knitting | Very Fast | Medium | High | High |
Note: Machine knitting is great for making many samples quickly. Hand knitting is best for testing new patterns and making one-of-a-kind mini-garments.
Sample Knitting Steps
You now move to the main part of the knitwear sampling process explained: knitting the sample. You follow a set of steps to make sure your mini-garment matches your pattern and vision. You use your swatch results to guide your choices.
Here is how you knit the sample in a professional studio:
Prepare your yarn and tools. Make sure your yarn is wound and conditioned.
Cast on the number of stitches your pattern requires.
Hold the needle with the cast-on stitches in your left hand. Use your right hand to insert the empty needle into the first stitch.
Wrap the yarn around the right needle from back to front.
Slide the right needle down and pull the yarn through the stitch.
Slip the old stitch off the left needle. Only remove one stitch at a time.
Repeat these steps for each stitch until you finish the row.
Continue following your knitting pattern for each row. Check your work often to make sure your stitches match the pattern.
When you finish the body of your mini-garment, bind off the stitches to secure the edge.
You may need to knit several samples to get the best result. Each sample helps you see if your pattern works and if your mini-garment fits your design. You use your notes from each sample to improve your pattern and the next sample you knit.
Tip: Always check your work as you knit the sample. Small mistakes can change the look and fit of your mini-garment.
The knitwear sampling process explained helps you turn your ideas into real samples. You use swatching, the right knitting method, and careful steps to make sure your mini-garment matches your pattern. This process gives you the best chance to create high-quality samples that show off your knitwear designs.
Test Knitters vs. Sample Knitters
You may hear the terms “test knitter” and “sample knitter” when you learn about the knitwear sampling process. These two roles sound similar, but they have different jobs. Knowing the difference helps you understand how a knitwear project moves from pattern to finished piece.
A test knitter checks the pattern instructions. You use your own yarn and follow the pattern step by step. Your main goal is to find mistakes or confusing parts in the pattern. You help the designer by giving feedback. You might notice if a step is missing or if the instructions do not make sense. When you finish, you keep your knitted piece. You also get credit and a copy of the final pattern.
A sample knitter creates a finished example of the design. You use yarn that the designer gives you. Your job is to make a piece that looks just like the designer’s vision. The designer uses your sample for photos, shows, or to show customers. When you finish, you send the sample back to the designer. You help the designer show off the pattern in the best way.
Here is a table to help you see the main differences:
Aspect | Test Knitters | Sample Knitters |
|---|---|---|
Yarn | You use your own yarn | Designer supplies the yarn |
Purpose | You check for issues in the pattern instructions | You create a finished example for photos and promotion |
Final Ownership | You keep your knitted piece and get credit and a copy of the pattern | You return the finished sample to the designer |
Finishing Responsibilities | You agree on any finishing work before you start | You agree on any finishing work before you start |
Note: Both roles are important. Test knitters help make sure the pattern is clear and easy to follow. Sample knitters help show what the finished piece will look like.
You may want to try both roles if you enjoy knitting and want to help designers. You learn new skills and become part of the knitwear design process. Each role lets you see how a pattern grows from an idea to a finished piece.
Assembly, Shaping, and Washing
Cutting and Shaping the Sample
You start by shaping your sample to match your knitting pattern. You need to measure each piece with care. A stainless steel straight-edge ruler helps you get the right size and shape. This tool gives you accuracy, which is important for a well-fitted garment.
Every shaping project starts with solid measurements. Precise numbers guide your work and ensure the outcome fits well. Considerations include total body length, bust apex, and how the knitwear will form around the neck edge or sleeves.
You use several best practices to keep your sample strong and neat:
Use a wrapped stitch or short row wrap method to avoid gaps.
Turn mid-row when your pattern asks, which saves time and yarn.
Write down your turning points so you do not lose track.
Combine left-leaning and right-leaning decreases for balance.
Place stitch markers at shaping spots.
Count rows between shaping points to keep your pattern even.
You follow your knitting pattern closely during this step. Each adjustment helps your sample keep its structure and match your design.
Assembly and Seaming
After shaping, you assemble the sample. You join the pieces together by seaming. This step brings your knitting pattern to life. You need to block each piece first. Blocking means stretching and pinning the fabric to the right size. This makes sure every part matches your pattern.
Block the knit pieces to the correct dimensions.
Check that each piece matches your knitting pattern.
Sew or link the pieces together with care.
The individual knit pieces are then carefully sewn or linked together, typically using specialized knitting machines. Precision in this step is vital for the overall appearance and structural integrity of the garment.
Evidence Source | Key Point |
|---|---|
Seaming 101 | Seams provide clothing with structure and strength, bestowing finished garments with a professional, tailored appearance. They allow a sweater to hold its shape and look fresh after years of wear by avoiding the biasing and stretching that is often present in garments made without seams. |
Always block before seaming to keep the fabric tidy and even.
For garter stitch, use a special seaming method to keep the look neat.
The meticulous linking of individual panels creates durable seams, and the finishing process softens the yarn and sets the final dimensions. Quality control checks are performed to inspect for defects and ensure the garment meets the specified standards.
Washing and Finishing
You finish your sample by washing and caring for it. This step is important for the final look and feel. Washing removes oils and evens out the stitches. It also helps the sample reach its true size, which is key for checking your knitting pattern.
The hand-feel of knitted garments is crucial for customer attraction.
Customers prefer softer knitwear that feels pleasant to touch and wear.
The final touch of the garment is significantly influenced by the washing and finishing processes.
You follow your pattern instructions for washing. Some yarns need gentle hand washing, while others can go in the machine. After washing, you lay the sample flat to dry. You check the fit and finish one last time. This helps you see if your knitting pattern needs changes before you move to the next stage.
Tip: Never skip the washing step. It shows you how your sample will look and feel when worn.
You now have a finished sample that matches your pattern and design. This careful process helps you create knitwear that looks good, feels soft, and lasts a long time.
Fitting, Adjustments, and Approval
Fit Review and Corrections
You start by checking if your sample fits right. This step helps you see if your design works. You use a fit sample to test how the garment sits on the body. You look for spots that need fixing and write down what to change.
Here are the main things you check during fit review and corrections:
Look at your tech pack and design. Check the measurements, balance, and shape.
See how the fabric acts. Watch for stretch, drape, shrinking, and how it bounces back.
Give advice about shape. Find problems and suggest changes for comfort.
Make sure the fit matches your brand’s rules.
Talk with your team. Share ideas and stop mistakes before making another sample.
You measure the sample and compare it to your pattern. You check if the fit is what you want. You look for tight or loose spots and places that do not move well. You write down what you find and get ready to fix your pattern.
Tip: Always test the fit on a real person or dress form. This shows how the garment works when worn.
Pattern Updates
After fitting, you fix your pattern to solve problems. You use your notes from the fit review to change stitch counts, shaping, and how you build the garment. You make sure your instructions are easy to follow.
You focus on these things when you update your pattern:
Change measurements to help the fit.
Fix shaping so the garment moves better.
Update stitch counts to be correct.
Make assembly and finishing steps clear.
Add notes about yarn and washing.
You check your pattern with the fit sample. You make sure every change helps the garment fit and look better. You share your new pattern with your team and ask for feedback before going on.
Step | Action Taken |
|---|---|
Measurement | Change stitch and row counts |
Shaping | Fix decreases and increases |
Instructions | Make assembly steps clearer |
Yarn Notes | Add tips for care and washing |
You repeat these steps until you feel good about your pattern. You want your final sample to match your idea and your brand’s standards.
Final Sample Approval
You finish by approving the final sample. You check every part to make sure it is ready for production. You use the sample to check construction, stitching, and finishing. You fit the sample to the base size, which sets the standard for all sizes.
Here are the steps for final sample approval:
Make a perfect sew-by sample that shows the final product.
Check linings, labels, and stitching.
Fit the sample to the base size.
Review the sample during production to catch mistakes early.
Use the sample to finish tech packs and specs.
You measure the garment, check how it is made, and look at the materials. You check the fit and how it works. You write down feedback and changes in the tech pack. You work with your team to find problems before making many pieces.
The review and approval process helps you meet standards before making lots of garments.
Checking samples before production helps you spot knitting and color mistakes.
Technical reviews with your team help you find problems before manufacturing starts.
You make sure the fit and pattern are perfect before production. This careful process helps you avoid mistakes and keeps your knitwear high quality.
Transition to Production Process
When your sample is done and the pattern is approved, you get ready for production. This step links your design to making lots of knitwear. You check that your pattern, materials, and instructions are easy to follow. The team needs clear steps to make your knitwear right. You want to stop mistakes and keep quality high as you start making more pieces.
Production Handoff
You start by getting all documents and samples ready. These help the factory know your pattern and what you want. You must give clear details so the team can copy your design.
Documentation Type | Description |
|---|---|
Show your pattern, fabric, trims, and notes about how to make it. | |
Labels & Packaging | Tell where labels go and how to pack each piece. |
Pre-Production Meetings | Make sure all teams know what to do before making your knitwear. |
Tech packs go with your garment from start to finish. They hold feedback and approvals.
Pre-production meetings help everyone know the fit, how to make it, and when it is due.
Clear label and packaging rules help your knitwear get ready for stores.
You use these tools to make sure your design is followed at every step.
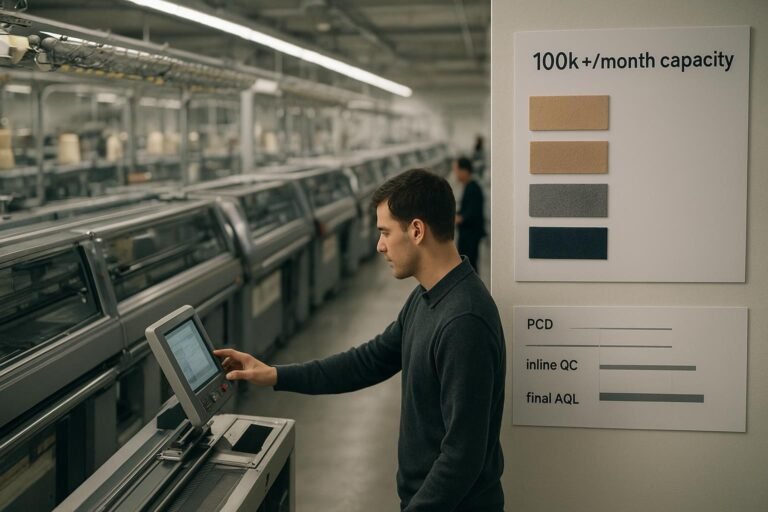
Quality Control
You need to check quality before and during making your knitwear. This keeps your pieces looking and feeling good. You want to find problems early, not after everything is made.
Description | |
|---|---|
Pre-production inspections | Look for problems before making starts. |
Supplier selection | Pick suppliers who know your quality needs for yarn and fabric. |
Fabric inspection | Check yarn and fabric for defects and see if they match your pattern. |
Sample testing | Test samples to see if they meet your pattern and quality rules. |
In-process inspections | Watch the making process to fix problems before the end. |
You and your team check each step. You test samples, look at fabric, and review your pattern. You want every piece to fit well and match your design.
Preparing for Manufacturing
You get ready for making lots of knitwear by checking that everything is set. You make sure your pattern is final and your materials are right. You also check that your team knows what to do.
Make sure your product and pattern match with your team.
Make a first prototype to test your design.
Update your pattern after each test.
Check fit and how it works with each sample.
Finish your tech pack and pattern.
Ask for a size set to check all sizes.
Confirm your design with a pre-production sample.
Approve the top sample before making lots of pieces.
After these steps, you start making your knitwear. You keep checking quality as you go. When you finish, you pack your knitwear to keep it safe. You ship your products to stores or centers, ready to sell.
Tip: Good planning and clear pattern steps help you stop costly mistakes when making your knitwear.
Why the Knitwear Sampling Process Matters
Ensuring Quality
You want your knitwear to look good and last long. The sample process helps you reach this goal. When you make a sample, you test every part of your knitting pattern. You check the yarn, stitches, and fit. Each stage in the pattern adds to the final quality. You see how your sample matches your vision and your brand’s standards.
You use a sample to spot problems early.
You check if your knitting pattern gives the right shape and feel.
You make sure your pattern meets customer needs.
A strong quality team reviews each sample. They look for mistakes and fix them before you make more pieces. This careful work builds trust with buyers. You show that your brand cares about quality. When you follow a good sample process, you make knitwear that lasts and keeps customers happy.
The sample process starts with a team focused on quality.
You follow a culture of quality to keep your knitwear strong and uniform.
Good quality control makes your brand reliable.
Reducing Risks
You lower risks when you use a sample in your knitwear project. The sample lets you test your knitting pattern before you make many pieces. You see if the pattern fits well and looks right. You also check if the sample matches your cost plan.
You use the sample to check sizing and fitting.
You make sure your pattern works for all sizes.
You look at how the fabric acts in your sample. You see if the knitting pattern stretches or shrinks. You change your pattern to fix problems. This step saves you time and money. You avoid making pieces that do not fit or feel good.
You use the sample to estimate costs.
You test the pattern to see how it works in real life.
You fix issues before you start full production.
Supporting Creative Vision
You use the sample process to bring your ideas to life. The sample lets you test new styles and shapes. You see how your knitting pattern looks in real fabric. You change your pattern to match your creative vision.
Evidence Type | Description | Impact on Creative Vision |
|---|---|---|
Waste Reduction | Virtual prototyping cuts material use by up to 48%. | You need fewer samples, so you can try more ideas. |
Speed of Design | Faster design cycles save time and money. | You experiment more with your knitting pattern. |
You use tools like APEXFiz to make virtual samples. You see your knitting pattern in 3D before you knit. You change your pattern quickly and test new looks. This process helps you create fresh designs and keep your brand unique.
You make a sample to test your creative ideas.
You use virtual samples to see your knitting pattern early.
You change your pattern to match your vision.
Tip: The sample process gives you freedom to try new patterns and styles. You learn what works and what does not before you make many pieces.
You see the value of a strong sample process. You ensure quality, reduce risks, and support your creative vision. Each sample helps you build better knitwear and grow your brand.
You now know how the knitwear sampling process goes from an idea to a finished piece. Each part, like design, yarn picking, sampling, putting pieces together, fitting, and making more, is important for good knitwear. If you follow every step, your knitwear will look nice and last a long time.
Value each part when you make your own projects.
Learn more about knitwear by reading books or joining online groups.
Remember: All great knitwear starts with careful steps. Keep learning and have fun being creative!
FAQ
What is a knitwear sample?
A knitwear sample is a test piece you make before full production. You use it to check the design, fit, and quality. This helps you find and fix problems early.
How long does the sampling process take?
You can expect the process to take two to six weeks. The time depends on your design, yarn choice, and how many changes you need to make.
Why do you need to wash the sample?
Washing shows you how the yarn and stitches behave. You see if the sample shrinks, stretches, or changes texture. This step helps you avoid surprises later.
Can you use any yarn for sampling?
You should use yarn that matches your final choice. Using a different yarn can change the look, feel, and fit. Always test with the yarn you plan to use for production.
What is the difference between a prototype and a sample?
A prototype is your first try at a new design. A sample is a finished piece you use to check details before production. You use both to improve your pattern.
Do you need special tools for knitwear sampling?
You need basic knitting tools like needles, measuring tape, and stitch markers. For machine knitting, you need a knitting machine. Good tools help you get better results.
Who checks the sample for quality?
You and your team review the sample. You look for mistakes, check the fit, and test the fabric. Quality checks help you make sure your knitwear meets your standards.