You might wonder how custom knitwear is made step by step. You start by dreaming up your own knitwear design process, picking colors, and choosing yarn. Planning helps you turn ideas into custom knit products that match your style. Sometimes, you face limits, like using only four yarn colors or keeping the collar, cuffs, and hem the same color. Here are common challenges:
Challenge Type | Description |
|---|---|
Yarn Color Limit | Only 4 yarn colors can be used per product, which may restrict creativity. |
Color Consistency | The collar, cuffs, and bottom hem must be the same color, which can complicate design. |
With patience, you can manufacture custom knit sweaters that look like fashion knit sweaters. This process lets you create custom pieces that feel truly yours.
Key Takeaways
Begin your custom knitwear by picking a project that fits your skills. If you are new, try making a scarf or a hat.
Look for ideas from places like Pinterest, magazines, or your own style. This can help you get creative.
It is very important to measure carefully for a sweater that fits well. Use a soft tape to measure and write down your numbers.
Draw your sweater design by sketching shapes and adding details. You can use digital tools like Canva to make mood boards and patterns.
Pick yarn and materials that feel good and last long. Think about the fiber type and yarn weight for your project.
Make a swatch to check your gauge before you start. This helps make sure your finished piece will fit right.
Follow your pattern step by step and keep track of your work. Use stitch markers and row counters to help you.
Finish your knitwear by weaving in the ends and blocking your piece. Use good seaming to make it look neat.
Choose Your Custom Knitwear Project
Choosing your first custom knitwear project feels exciting. You get to decide what you want to make and how you want it to look. Let’s break down your options and help you find inspiration for your next creation.
Garment Types
You have many choices when it comes to knitwear. Some projects are quick and simple, while others take more time and skill. Here are some popular options:
Sweater
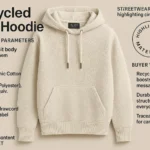
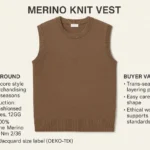
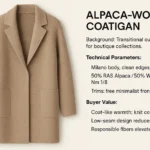
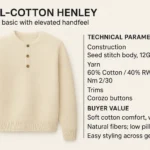
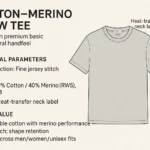
A sweater gives you lots of room to play with color, shape, and texture. You can keep it basic or try advanced stitches like cables or lace. Sweaters let you show off your creativity and keep you warm at the same time.
Scarf
Scarves are a favorite for beginners. You can make them chunky or light, long or short. They are perfect for learning new stitches and trying out bold colors. Scarves also make great gifts.
Hat
Hats are fun and fast to knit. You can make a simple beanie or try a slouchy style. Hats let you practice shaping and can include details like pom-poms or ear flaps.
Accessories
Accessories include mittens, socks, boot cuffs, and even baby items. These projects can be small but challenging. Mittens and socks help you learn new techniques and make practical, cozy gifts.
Tip: Start with a project that matches your skill level. If you’re new, try a scarf or hat. If you want a challenge, order yarn for a sweater or a pair of socks.
Here’s a quick look at how stitch types can change the complexity of your project:
Stitch Type | Complexity Factors | Production Impact |
|---|---|---|
Jersey | Basic structure | Lower time/cost |
Rib | Moderate structure | Moderate time/cost |
Cable | Advanced structure | Higher time/cost |
Jacquard | Complex design | Higher time/cost |
Lace | Detailed design | Higher time/cost |
Intarsia | Color complexity | Higher time/cost |
Gather Inspiration
You don’t have to come up with ideas on your own. Inspiration is everywhere! Here’s how you can find it:
Online Ideas
Pinterest is a great place to start. You can search for patterns, color combos, and finished projects. Many knitters share their work online, so you’ll never run out of ideas.
Magazines
Knitting magazines and books offer patterns and tips. You can flip through pages and see what catches your eye. Sometimes, even a photo in a non-knitting book can spark a new design.
Personal Style
Look at what you wear every day. Maybe you love bold colors or soft textures. Notice what you like about your favorite clothes. You can use these details to make your custom project feel personal.
Note: Take a walk outside or visit a fabric store. The colors and textures you see might inspire your next knitwear design.
No matter what you choose, remember that custom knitwear lets you express yourself. Pick a project that excites you and gather ideas from everywhere. Your next creation starts with a single stitch!
Plan and Design Your Own Sweater
Ready to design your own sweater? This part is all about planning, measuring, and sketching your ideas. You get to decide how your knit sweater will look and fit. Let’s break it down step by step.
Take Measurements
Before you start, you need to take measurements. This helps your sweater fit just right. Grab a soft measuring tape and write down each number. You want to be as accurate as possible.
Essential Measurements
Here are the main measurements you need for sweaters:
Measurement Type | Description |
|---|---|
Chest/Bust | Measure around the fullest part of your chest. |
Center Back Neck-to-Wrist | Start at the back of your neck, go across your shoulder, and down your arm to your wrist. |
Back Waist Length | Measure from the base of your neck to your waist. |
Cross Back | Measure from one shoulder to the other. |
Arm Length | Measure from your armpit to your wrist with your arm slightly bent. |
Upper Arm | Measure around the widest part above your elbow. |
Armhole Depth | Measure from the top of your shoulder down to your armpit. |
Waist | Measure around your natural waist, just above your belly button. |
Hip | Measure at the widest part of your hips. |
Tip: Stand straight and relax your arms when you take measurements. Ask a friend to help for better accuracy.
Recording
Write your numbers in a notebook or save them on your phone. You can make a simple chart to keep track. Here’s an easy way:
List each measurement type.
Write the number next to it.
Double-check before you start knitting.
Draw Your Diagram
Now you get to design your own sweater visually. Drawing a diagram helps you see the shape and details before you pick up your needles.
Sketch Shapes
Start with basic shapes. Draw the body, sleeves, and neckline. Use a croquis or template to keep everything proportional. You can use a grid to help with symmetry.
Add Details
Add things like ribbing, cables, or color blocks. Vary your line weights to show depth. Try angular lines first, then smooth them out. Flip your drawing for perfect symmetry.
Note: Organize your drawing in layers if you use digital tools. This keeps things neat and easy to change.
Use Design Tools
You don’t have to be a pro artist to design your knit sweater. Graphic design tools make it easier to create patterns and share ideas.
Graphic Software
Here are some tools you can try:
Tool | Purpose | Key Features |
|---|---|---|
Canva | Moodboards | Drag-and-drop, customizable templates, great for gathering images. |
Google Docs | Pattern writing and editing | Real-time updates, easy layout, comments for feedback. |
Inkscape | Schematics | Precision drawing, perfect for accurate knitting patterns. |
Pattern Creation
Use these tools to write out your pattern, draw schematics, and organize your ideas. You can save your work and come back to it later. This helps you stay on track as you design your own sweater.
Callout: Try making a moodboard in Canva with your favorite colors and textures. This can inspire your final design!
You’re now ready to design your knit sweater from start to finish. Take measurements, sketch your ideas, and use digital tools to bring your vision to life. Every step helps you create a sweater that’s truly yours.
Select Yarn and Materials
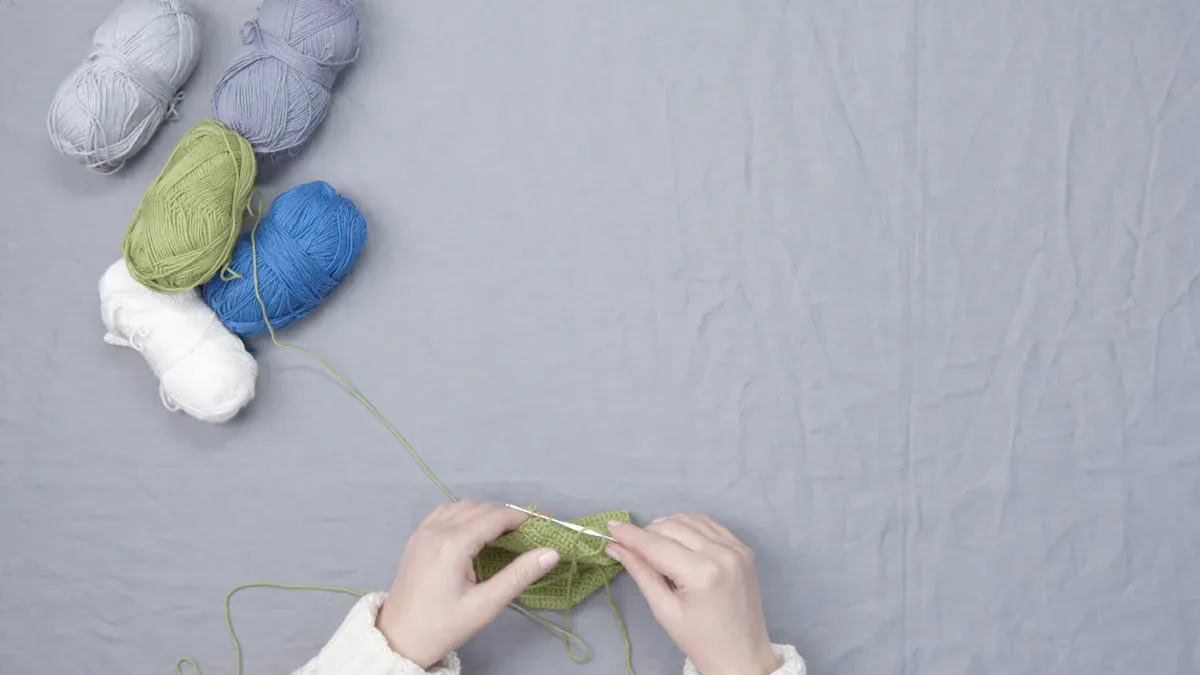
Choosing the right yarn and materials sets the stage for your project. You get to decide how your knitwear feels, looks, and lasts. Let’s break down what you need to know before you start knitting.
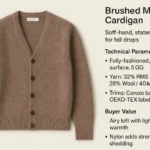
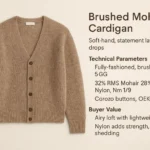
Yarn Choices
Picking yarn is more than just grabbing a ball that looks pretty. You want to think about how it feels on your skin and how it holds up over time.
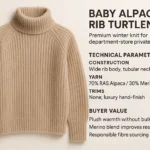
Fiber Types
Yarn comes in many fiber types. Each one changes the comfort and durability of your knitwear. Check out this table to see how different fibers work:
Fiber Type/Structure | Effect on Comfort | Effect on Durability |
|---|---|---|
Knitted fabrics | Better stretch and moisture management | Great for active sportswear |
Thinner, lighter fabrics | Higher thermal resistance, more air flow | Lower thermal conductivity |
Increased linear density | Thicker, heavier, less air movement | Higher thermal conductivity, less moisture |
You might want a soft, stretchy yarn for a cozy sweater. If you want something for sports or outdoor wear, look for yarn with good moisture management.
Yarn Weight
Yarn weight affects how thick or thin your project turns out. Here are some common weights:
Lace: Very thin, best for delicate shawls.
Sport: Light, good for baby clothes or light sweaters.
Worsted: Medium, perfect for most sweaters and scarves.
Bulky: Thick, great for chunky hats and blankets.
Tip: Check the yarn label for weight and recommended needle size. This helps you match your pattern and get the right fit.
Color Selection
Color brings your knitwear to life. You can go bold or keep it simple. This year’s color trends offer lots of choices.
Solid
Solid colors make your project look classic and clean. Some popular shades right now include:
Lemon: Fresh and warm, adds lightness.
Pistachio: Vibrant and modern, pairs well with lemon.
Army greens and khakis: Timeless and versatile.
Bold reds: Make a strong statement.
Multicolor
If you want your knitwear to stand out, try multicolor yarns or patterns. Here are some ideas:
Earthy tones: Add warmth and depth.
Vibrant reds: Bring energy to your project.
Unexpected combinations: Mix colors for a fun look.
Rainbow patterns: Inspired by the 80s, making a comeback.
Multicolored stripes: Show off your creativity.
Retro patterns: Groovy 70s designs and color-blocked knits.
Note: Expressive knitwear lets you show your personal style. Don’t be afraid to experiment with color!
Tools Needed
You need the right tools to make your custom knitwear project a success. Here’s a list to get you started:
Needles
Knitting needles: The main tool for every project.
Cable needle: Helps you create cables and twists.
Stitch holder: Keeps live stitches safe while you work.
Notions
Yarn: Your main material, pick the type and color you love.
Scissors: For cutting yarn and tidying up.
Darning needle: Weaves in ends and adds embroidery.
Stitch markers: Track your stitches and patterns.
Measuring tape: Makes sure your project fits.
Blocking mats and pins: Shape and dry your finished piece.
Digital scale & calculator: Track yarn usage and plan ahead.
Callout: Gather all your tools before you start. This makes your knitting smoother and more fun!
Now you’re ready to pick yarn, colors, and tools for your project. These choices help you create knitwear that feels good, looks great, and lasts a long time.
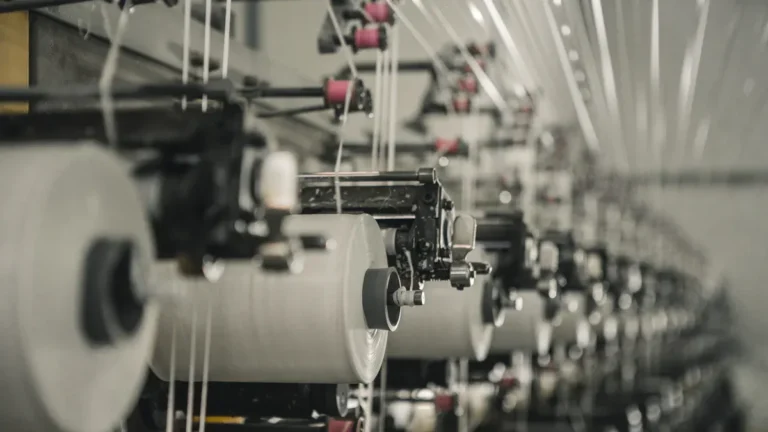
How Custom Knitwear Is Made Step by Step
You’re ready to dive into the heart of how custom knitwear is made step by step. This is where your ideas become real, one stitch at a time. Let’s walk through the process together, so you can create custom knit sweaters that fit and look just the way you want.
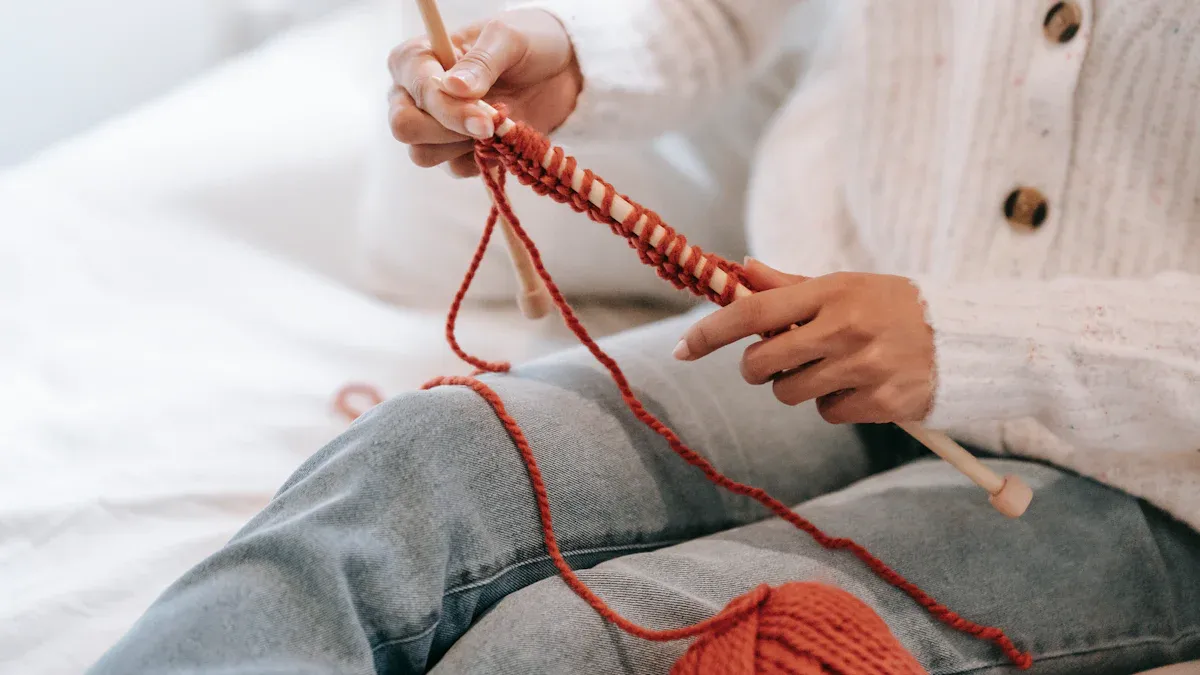
Make a Swatch
Before you start your main project, you need to make a swatch. This small sample helps you see how your yarn and needles work together. Swatching is a key part of the process for every piece of knitwear.
Gauge
Gauge means the number of stitches and rows in a set space, usually a 4-inch square. Every knitter has a unique tension, so your gauge might be different from someone else’s. Getting the right gauge is important. If your gauge is off, your custom knit sweaters could end up too big or too small.
Here’s how you make a swatch for custom knitwear:
Check your pattern for gauge requirements.
Cast on enough stitches to make a swatch at least 6 inches wide.
Knit until your swatch is at least 6 inches tall.
Bind off loosely.
Measure your gauge before blocking, especially if your yarn changes after washing.
Wash your swatch like you would your finished garment. Soak it in warm water and lay it flat to dry.
Use pins to mark a 4-inch section. Count the stitches and rows between the pins.
Use a hard ruler for accurate measurements.
Tip: Swatching lets you see how your fabric will look and feel. It also helps you avoid surprises later in the process.
Adjust Pattern
If your gauge doesn’t match the pattern, you need to adjust. This step is crucial in how custom knitwear is made step by step.
If you count more stitches per inch than needed, switch to a larger needle.
If you count fewer stitches per inch, use a smaller needle.
If your stitch gauge is correct but your row gauge is off, try a needle of the same size in a different material.
Avoid changing needle sizes by more than one or two sizes. This keeps your fabric drape nice.
Swatching helps you figure out if you need to change anything before you start your custom knit sweaters. You get a chance to fix problems early in the process.
Follow Your Pattern
Now you’re ready to follow your pattern. This is where you turn your plan into real knitwear. The process works best when you stay organized and keep track of your progress.
Knitting Instructions
Start by reading your pattern carefully. Make sure you understand all the abbreviations and stitch patterns. Write out any special techniques or tips that will help you along the way. Test knit your pattern if you can, so you know it works.
Double-check your gauge and yardage.
Make sure your measurements match the finished size.
Keep your pattern handy as you knit from the bottom-up or top-down, depending on your design.
Note: If you run into trouble, look for customer support or knitting forums. Many knitters share advice and solutions online.
Tracking Progress
Tracking your progress helps you stay on target. You don’t want to lose your place or forget how many rows you’ve finished. Here are some tools and methods you can use:
Feature | Description |
|---|---|
Keep track of your stitches and rows, so you never lose your spot. | |
Professional Time Tracking | Record how long you spend on each part of your custom knit sweaters. |
Advanced Component Management | Track each piece separately, like the back, front, and sleeves. |
Professional Cost Analysis | Calculate how much yarn and time you use, which helps if you want to sell your knitwear. |
Callout: Use stitch markers and row counters to make your process smoother. Write notes in your pattern as you go.
Knit Each Piece
You’re ready to knit each part of your custom knit sweaters. The order you knit the pieces matters. Each panel has a special shape and role in the final garment. The process for how custom knitwear is made step by step includes making the back, front, sleeves, and details.
Back
Start with the back panel. Use your measurements to cast on the right number of stitches. Knit from the bottom-up, following your pattern for shaping. Make sure your edges are neat, since you’ll join them later.
Shape the waist and shoulders as needed.
Check your progress often to make sure the size matches your plan.
Front
Next, knit the front panel. The order is important because the front often has extra shaping for the neckline. Make sure the front matches the back in width and length.
Shape the neckline as you go.
Add any special details, like cables or color blocks.
Sleeves
Move on to the sleeves. The order here helps you keep everything balanced. Decide how long and wide you want your sleeves. Spread out increases or decreases for a smooth look.
Knit both sleeves the same way.
Use stitch markers to track shaping.
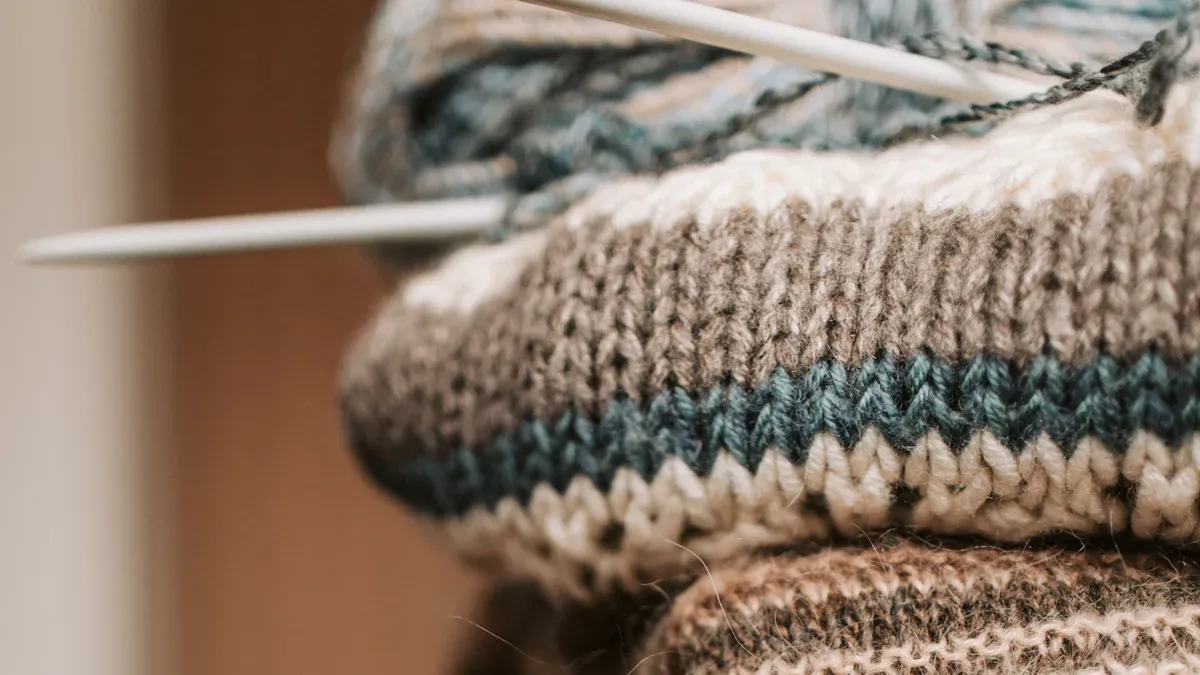
Details
Finish with the details. This step in the process brings your custom knitwear to life. Add ribbing to the cuffs, collar, and hem. Make sure these match in color, since many custom knit sweaters require consistency.
Add any motifs, initials, or extra touches.
Check that all pieces fit together before you start assembling.
Tip: The order you knit each piece affects how easy it is to join them later. Linking the panels loop by loop creates strong, smooth seams. This keeps your knitwear comfortable and helps it hold its shape.
You’ve now learned how custom knitwear is made step by step. By following the right order and process, you can create custom knit sweaters that fit perfectly and look amazing. Every stitch brings you closer to a finished piece you’ll love to wear.
Assemble and Finish Custom Knit Sweaters
You’ve finished knitting all your pieces. Now it’s time to bring everything together and give your project that high-quality final result. These finishing steps make your custom sweater look polished and professional.
Weave in Ends
Loose yarn ends can make your knitwear look messy. You want to hide them well so your sweater stays neat and strong. Here’s how you can weave in ends like a pro:
Techniques
Use the seam allowance to tuck in ends by weaving up and down into every stitch. You don’t need to be super precise here.
When you join new yarn, do it in a spot that won’t show, like under the arm.
Change direction as you weave. This keeps the end from slipping out.
Leave a tiny bit of yarn sticking out after you snip it. This helps lock it in place.
For stockinette, weave into the bumps of purl stitches diagonally, then switch direction halfway.
In garter stitch, weave horizontally under every other leg of the stitch, then double back.
For ribbing, weave up and down inside a knit column on the wrong side.
If you’re working with lace, use duplicate stitch over several stitches on the wrong side, especially if both sides will show.
Tip: Take your time with this step. Well-woven ends keep your sweater looking tidy and lasting longer.
Block Your Garment
Blocking shapes your sweater and sets the stitches. It’s like magic for knitwear! You’ll see your fabric smooth out, patterns pop, and edges relax.
Benefit Description |
|---|
Achieves correct size and shape by stretching and reshaping the knitted piece. |
Sets stitches for a polished and even fabric, smoothing out inconsistencies. |
Softens fabric and improves drape, allowing yarns to relax and bloom. |
Flattens curled edges, ensuring the fabric lies flat and looks symmetrical. |
Enhances lace or textured patterns, revealing intricate designs and details. |
Maintains shape and integrity over time, resisting stretching and shrinking. |
Wet Blocking
Wet blocking works best for sturdy fibers like wool and linen. Soak your sweater in cool water with a gentle wool wash. Gently squeeze out the water—don’t wring! Lay your sweater flat on a towel, shape it to the right size, and let it dry completely.
Steam Blocking
Steam blocking is great for delicate knits or seamed pieces. Hold a steam iron above your garment and let the steam relax the fibers. Don’t press the iron down. Shape your sweater as you go and let it cool before moving.
Method | Description | Suitable For |
|---|---|---|
Wet Blocking | Immersing the garment in cool water with wool wash, then laying flat to dry. | Sturdy fibers like wool and linen |
Steam Blocking | Using a steam iron above the garment to relax fibers without immersion. | Delicate knits and seamed pieces |
Seam and Join
Now you get to put all the pieces together. Good seams make your sweater strong and comfy. You want joins that look invisible and feel smooth.
Mattress Stitch
The mattress stitch is a favorite for joining sweater pieces. It gives your seams structure and support, so your sweater won’t sag or stretch out. You sew the edges together from the right side, making the seam almost disappear.
Note: Mattress stitch works well for side seams, shoulders, and sleeves. It keeps your custom knitwear looking neat and feeling sturdy.
Other Methods
You can also try invisible stitching (sometimes called grafting or matte stitching). This method creates joins you can barely see. It’s perfect for shoulders or places where you want the fabric to look seamless. Try different techniques to see what you like best.
You’ve now finished all the steps for assembling your sweater. Careful finishing makes your project look and feel amazing. Enjoy wearing your new creation!
Customize and Troubleshoot
You’ve finished your project, but now you want to make it truly yours. You also want to keep it looking great and fix any mistakes along the way. Let’s explore how you can personalize, troubleshoot, and care for your custom knitwear.
Personalize Your Knitwear
Adding personal touches makes your knitwear stand out. You can show off your style or make a special gift for someone.
Initials
You can stitch your initials onto your sweater or scarf. Use a simple embroidery technique or duplicate stitch. Pick a spot that feels right, like the cuff or near the hem. This small detail makes your piece unique.
Motifs
Try adding motifs like hearts, stars, or animals. You can knit these into your design or sew them on after. Choose colors and shapes that match your vision. If you want to go further, add your logo or a brand signature. Here’s a quick way to plan your custom touches:
Define your vision and think about who will wear it.
Pick the right item for your story.
Choose yarn that feels soft and lasts.
Explore colors and stitches that show your style.
Add your logo or a special mark.
Make a sample to test your ideas.
Plan your project size and timing.
Tip: Personalizing your knitwear makes it feel special and helps you express yourself.
Fix Mistakes
Mistakes happen, but you can fix them and keep your project looking great.
Common Issues
Here are some problems you might run into:
Picking a project that’s too hard for your skill level.
Not following the pattern closely.
Skipping the gauge check, which can mess up sizing.
Running out of yarn before you finish.
Using yarn from different dye lots, which can cause color changes.
Solutions
You can solve most problems with a few simple tricks:
Sew spare yarn into seams for hidden repairs.
Use yarn that matches your project for mending.
Take yarn from the garment itself if you need a perfect match.
Fix seams by looking at how they were sewn.
Use a crochet hook to move yarn and fix pulls.
Repair holes by weaving new yarn in, making sure stitches line up.
Note: Don’t worry if you make a mistake. You can always fix it and learn something new.
Care Tips
Taking care of your knitwear helps it last longer and look fresh.
Washing
Wash your knitwear gently. Hand wash in cold or lukewarm water with a wool-safe detergent. If you use a machine, put your item in a mesh bag and choose a gentle cycle. Rinse well and lay flat to dry. Mild detergents protect the fibers and keep your piece soft.
Repairs
Spot-clean spills right away. Air out your knitwear between wears instead of washing every time. Fold your items to avoid stretching. Store them in airtight containers to keep moths away.
Care Tip | Why It Matters |
|---|---|
Hand wash gently | Keeps fibers strong and soft |
Lay flat to dry | Prevents stretching and misshaping |
Use mild detergent | Protects natural oils in the yarn |
Fold to store | Avoids stretching and sagging |
Airtight storage | Stops moth damage |
Callout: Good care means your custom knitwear will stay beautiful for years.
You now know how to make custom knitwear from start to finish. Here’s a quick recap of the steps:
Gather inspiration and sketch your ideas.
Plan your design and choose the right yarn.
Knit each piece, shape, and assemble your project.
Add finishing touches and check your work.
Try your own project and have fun with new designs! Share your creations or ask questions in the comments. You can always learn more and improve your skills.
FAQ
How long does it take to make a custom sweater?
You can finish a simple sweater in one to two weeks if you knit a little each day. More complex designs may take longer. Your speed will improve with practice.
What yarn is best for beginners?
You should try medium-weight yarn, like worsted. It’s easy to see your stitches and feels comfortable in your hands. Avoid fuzzy or very thin yarn for your first project.
Can I wash my knitwear in the washing machine?
You should check the yarn label first. Some yarns are machine washable, but many need gentle hand washing. Always lay your knitwear flat to dry to keep its shape.
How do I fix a dropped stitch?
Don’t panic! Use a crochet hook to pull the stitch back up to your needle. You can find many helpful videos online if you get stuck.
What if my sweater doesn’t fit?
You can adjust the size by blocking your sweater. If it’s too small, stretch it gently when wet. If it’s too big, try shrinking it a little with warm water.
Can I add my own designs or initials?
Yes! You can add your initials or a special design with embroidery or duplicate stitch. This makes your custom project unique and personal.
What tools do I need to start knitting?
You need knitting needles, yarn, scissors, a measuring tape, and a darning needle. Stitch markers and a row counter help, too. Gather your tools before you start for a smooth process.