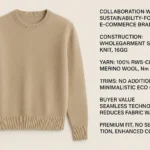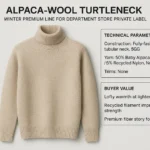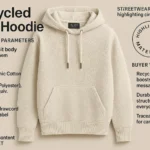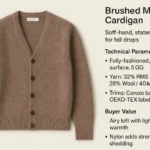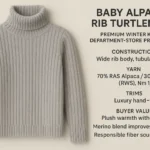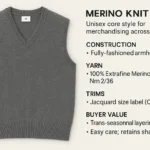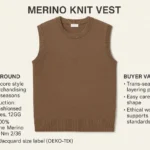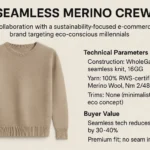

Designing a sweater is one of those projects that looks simple until you’re three samples in and still arguing about sleeve length.
The fix isn’t “better taste.” It’s a clearer process and tighter specs.
This guide walks you through how to design your own sweater in a way a factory can actually execute—whether you’re building your first capsule for the US market or moving from small runs into repeatable production. Think of it as the practical sweater manufacturing process checklist most founders wish they had before the first sample.
Key takeaways
Your sweater design lives or dies on three early decisions: silhouette, yarn, and gauge.
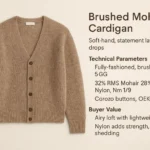
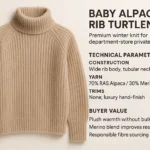
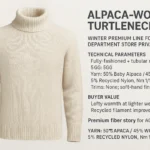
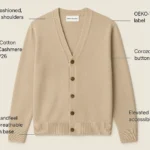
A sweater tech pack needs knit-specific details (gauge, stitch map, yarn codes, linking/assembly notes)—not just flats and measurements.
Swatches aren’t optional. They’re how you de-risk shrinkage, drape, stitch definition, and color.
Sampling gets fast when you control inputs: clear specs, revision control, and one decision-maker.
QC is a system: PP sample → in-line checks → final AQL inspection + lab tests where needed.
Step 0: Choose your “production path” before you design
There are two common ways founders approach a custom knit sweater:
No-minimum, made-to-order programs (often optimized for artwork and quick ecommerce launch)
OEM/ODM bulk production (optimized for repeatability, margins, and wholesale readiness)
Both are valid. They just require different specs.
If you’re aiming for wholesale accounts, consistent restocks, or a stable size run, assume you’ll need the OEM/ODM path—and design accordingly.
If you’re evaluating suppliers in parallel, AzKnit’s overview of custom knitwear services is a quick reference for what factories typically cover (sampling, yarn options, and production flow).
Step 1: Lock the design intent (silhouette, fit, and customer)
Before you open Illustrator or start swatching yarns, write down:
What the sweater is for (everyday core, statement piece, uniform, gifting)
The silhouette (boxy crewneck, classic fit, oversized drop shoulder, cropped, polo collar)
The “feel” targets (soft vs structured; airy vs dense; drapey vs crisp)
The size range you’ll sell (and whether you’ll offer petite/tall)
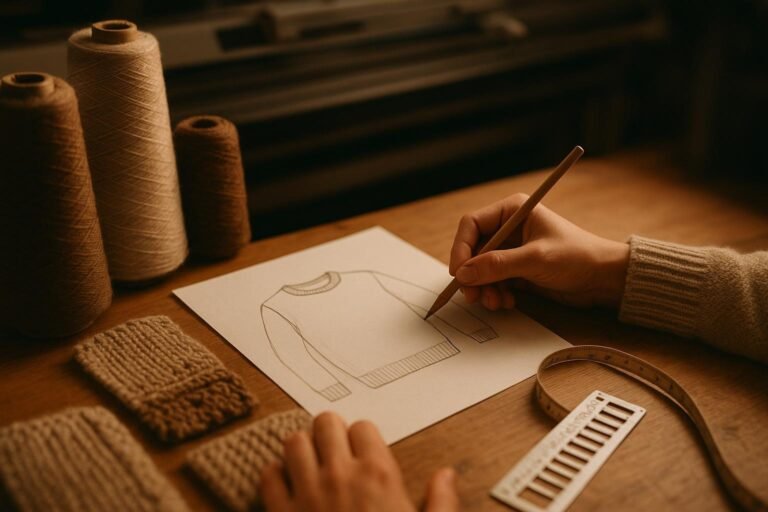
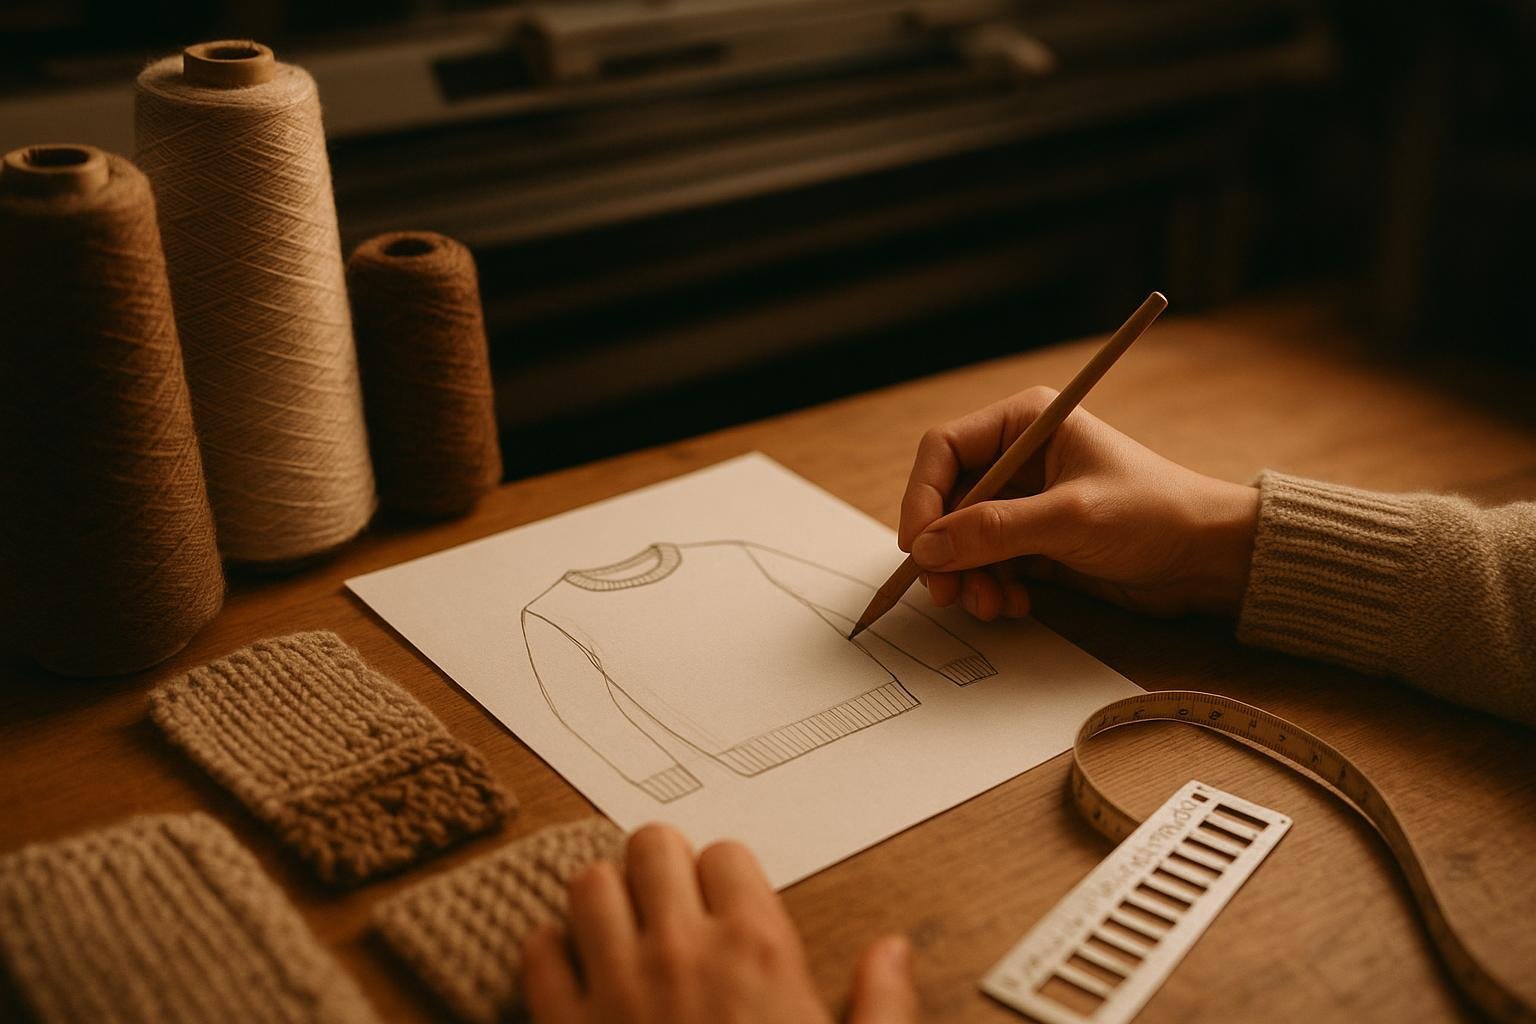
Done when: You can describe the sweater in 2–3 sentences and sketch a rough front/back.
Pro Tip: Founders waste the most time when they iterate aesthetics while the factory is iterating engineering. Lock the silhouette first; iterate color and surface later.
Step 2: Choose yarn and fiber content with the end use in mind
In knitwear, yarn isn’t a material choice you “finalize later.” It is the product.
At minimum, decide:
Fiber direction (e.g., merino, cotton, cashmere blends, recycled blends)
Handfeel target (smooth, lofty, hairy, crisp)
Durability expectations (pilling tolerance, abrasion, shape retention)
Target price point (your yarn choice sets the floor)
Done when: You can name the fiber direction and the target handfeel, plus one backup option if your first choice is unavailable.
Step 3: Pick gauge and knit structure (this is where your sweater becomes real)
Gauge (GG) is the knit density (often described as stitches per inch). It influences weight, warmth, drape, cost, and stitch definition.
Then you choose the knit structure—the fabric “architecture.” For example:
Jersey for a clean, versatile surface
Rib for elasticity and shape retention (often cuffs/hem/collar)
Cable for chunky, heritage texture
Jacquard or intarsia for graphics and colorwork
A helpful reference for options and typical gauge ranges is AzKnit’s overview of knit structures and gauge (GG) selection.
Done when: You’ve chosen a gauge range (chunky / medium / fine) and one primary structure for the body.
⚠️ Warning: If you design a silhouette that needs structure (e.g., a sharp shoulder) but pick a drapey yarn + loose gauge, you’ll fight the garment in every sample.
Step 4: Build swatches that answer the hard questions early
You’ll hear the phrase “knit gauge and swatch” a lot in development. That’s because gauge decisions only become trustworthy once they’re validated on real swatches with your target yarn and finishing method.
Swatches are where you test assumptions before you pay for full samples.
You’re trying to answer:
Does the stitch read the way you expect at this gauge?
How does the fabric behave after wash and block (shrinkage, growth, twist)?
Does the color match under your lighting and on-camera?
Does the surface pill easily in high-friction areas?
If you’re working with a manufacturer, this is usually the phase where yarn + gauge are confirmed and sampling can move quickly. AzKnit lays out a practical swatches, samples, and mockups workflow (inputs, approval points, and timelines) that’s useful even if you’re using a different supplier.
Done when: You approve at least one swatch for yarn + gauge + stitch, and you record the swatch code/reference in your spec.
Step 5: Turn your idea into a factory-usable sweater tech pack
A good sweater tech pack reduces guesswork.
Unlike cut-and-sew, knitwear is built from yarn with stitch counts, gauge, and linking/assembly choices. That’s why knitwear tech packs need extra knit-specific specs. The Cashmere Designer explains this clearly in their note on how knitwear sweater tech packs differ from woven or cut-and-sew.
A sweater tech pack checklist (minimum viable)
Include these sections:
Technical flats: front/back + detail callouts (collar, cuff, hem, pocket, placket)
Points of measure (POM) spec sheet: target measurements and tolerances for each POM
Size range + grading rules: how measurements change by size
Yarn spec: fiber content, yarn count/ply, color codes, approved substitutions
Gauge: target gauge and where it applies (body vs rib, etc.)
Stitch map: which structure goes where (e.g., jersey body, 2×2 rib cuff/hem)
Artwork files (if applicable): jacquard/intarsia placement, size, color limits
Construction notes: linking/seaming, neckline finishing, reinforcements
Labeling + packaging: label placements, folding/packing that might affect measurements
Revision control: version number, change log, and who approved what
Done when: A factory can quote, sample, and grade your sweater without asking “what do you mean by…?” five times.
Step 6: Run knitwear sampling like a controlled experiment
Sampling goes off the rails when every round changes five variables.
Treat each round like a test:
Round 1 (proto): silhouette + overall fit + stitch look
Round 2 (fit + fabric lock): gauge tweaks, yarn confirmation, neckline/armhole refinements
Round 3 (PP / golden sample): production-ready finishing, labels, packaging, final tolerances
To keep timelines short:
Change one major variable at a time (gauge or yarn or pattern)
Keep one decision-maker for approvals
Send fit feedback with photos + marked measurements (not “feels tight”)
Done when: You have an approved PP (pre-production) sample that becomes the benchmark for bulk.
Step 7: Confirm grading with a size set, not vibes
A sweater that fits perfectly in one size can fail across the size run.
That’s why brands often approve a size set (e.g., S and L, or your best-selling sizes) before bulk.
Check:
Proportions (neck opening, shoulder slope, sleeve width)
Lengths (body and sleeve) across sizes
Logo/artwork placement scaling (if any)
Done when: You approve the grade rules and the size set samples match them.
Step 8: Define quality checkpoints and acceptance criteria before bulk
QC works best when “good” is defined before production starts.
At minimum, align on:
Measurement tolerances (what’s acceptable, what’s a defect)
Shade and color consistency standards
Workmanship rules (seam/link quality, loose ends, symmetry)
Required tests (if any): shrinkage/dimensional stability, pilling, colorfastness
For a practical overview of staged QC and inspections, HDMerino summarizes how brands use QC and AQL checkpoints for sweaters—useful as a starting point for defining your own acceptance plan.
Done when: Your PO references an approved sample, a tolerance table, and pass/fail criteria.
Step 9: Plan your launch timeline backward from the ship date
The fastest way to miss a drop is to treat production like a single block of time.
Work backward:
Shipping window + customs buffer
Bulk production time
PP approval time
Sampling rounds
Swatches and lab dips
Tech pack finalization
If you’re using in-stock yarns and straightforward structures, some factories can move quickly. For example, AzKnit shares a scenario-based discussion of sampling/bulk timing in its guide to briefing a low-MOQ knitwear factory—read it as a planning reference, not a promise.
Done when: You have a calendar with milestones (swatch approval, proto sample, PP sample, bulk start, final inspection, ship).
Common mistakes when you design your own sweater
Skipping swatches and discovering shrinkage or pilling too late
Under-specifying the sweater tech pack (missing gauge, stitch map, tolerances)
Iterating aesthetics during engineering (new silhouette + new yarn + new stitch every round)
Approving a single size without validating grading
Assuming certifications guarantee performance instead of testing what matters
Next steps
If you want a faster first sample and fewer revisions, start with two documents:
A one-page design intent (silhouette, customer, price point, mood)
A tech pack draft with POMs + gauge + stitch map
If you’re looking for a manufacturing partner, AzKnit can support sampling and swatch development—start with the samples/swatches intake checklist and request a yarn book or a feasibility review.
Note: This article is educational and intended to help you structure a sweater development workflow. Your exact specs, testing needs, and compliance requirements will vary by market and product category.